


03-Aug-2026
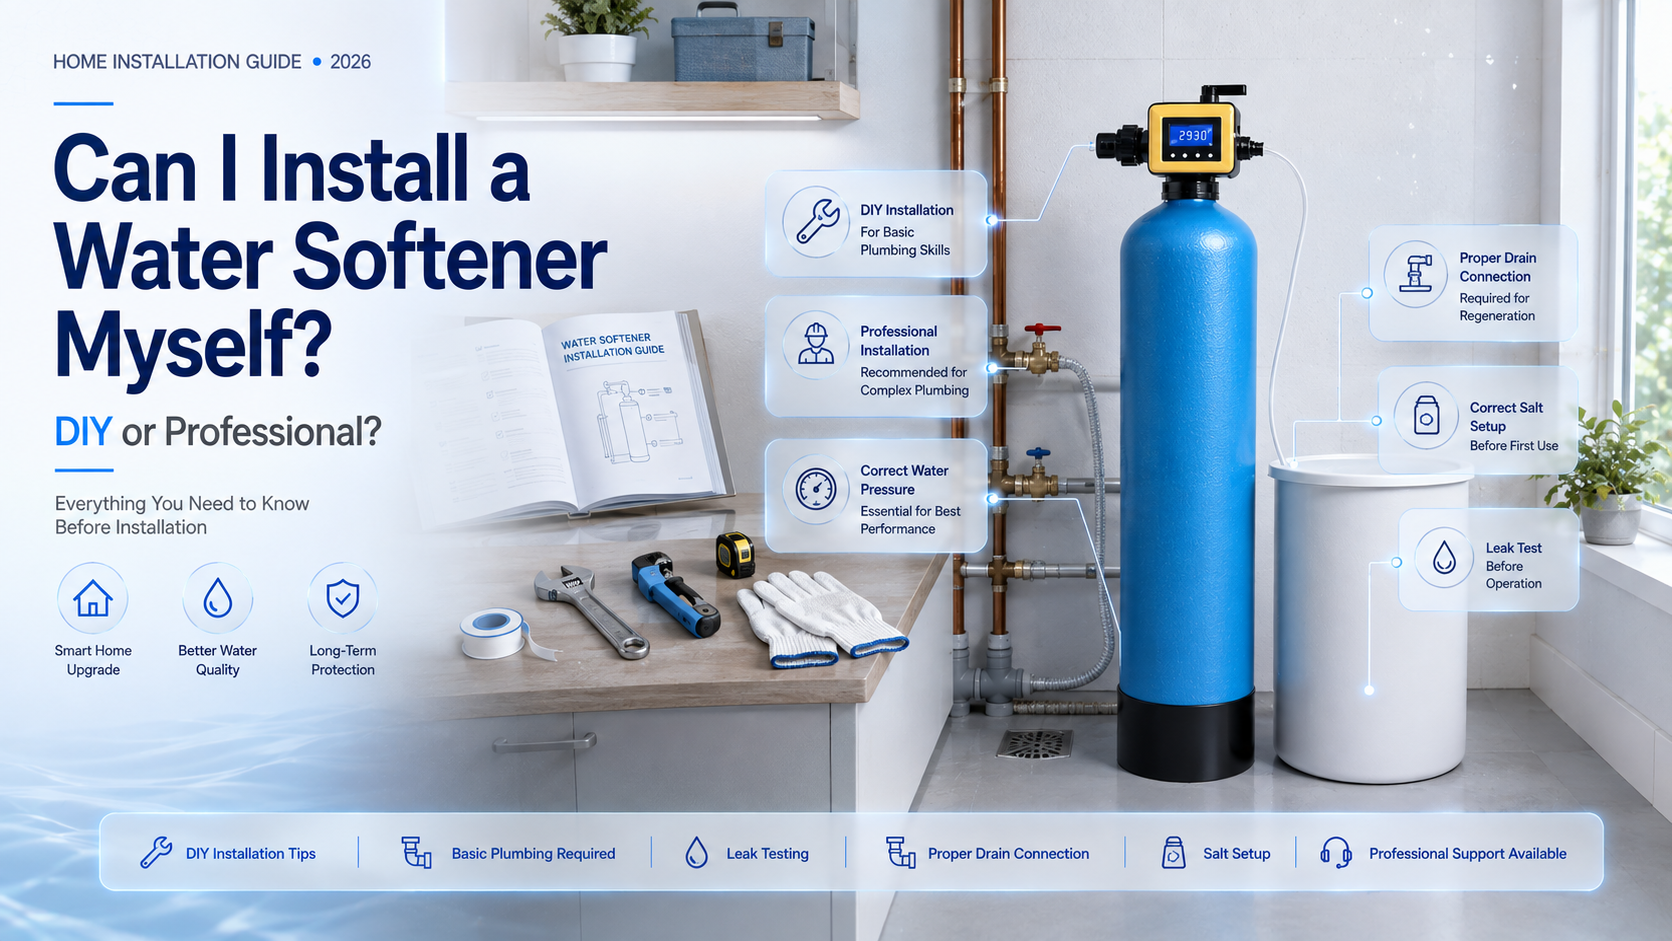
Quick answer: Yes, it's technically possible if you're comfortable with basic plumbing — cutting into a pipe, using Teflon tape, and connecting fittings — and your setup uses standard pipe sizes with easy access to your main water line. However, most people in India choose professional installation because it protects your warranty, avoids costly leaks from incorrect fitting, and ensures the water softener is sized and positioned correctly for your actual water pressure and usage. Below is exactly what DIY installation involves, so you can honestly judge whether it's the right call for your home.
Installing a water softener isn't like installing a small appliance you simply plug in. It means physically cutting into your home's main water supply line and rerouting it through the softener unit, which then feeds your taps, geyser, and appliances with softened water. Here's the general sequence:
Each of these steps is manageable individually, but they add up to a job that typically takes a trained installer 1–2 hours and can take a first-time DIYer considerably longer — plus the risk of a mistake at any single step compounding into a leak, a pressure issue, or a softener that isn't actually working correctly.
Before attempting this yourself, it's worth being honest about what the job requires:
Requirement |
Why It Matters |
Pipe cutter and fittings matching your plumbing type |
Getting the wrong fitting size or type is the single most common cause of leaks in DIY installations |
Teflon tape / thread sealant |
Needed at every threaded joint to prevent slow leaks that may not show up for days |
Basic plumbing experience |
Cutting pipe cleanly and squarely, and sealing joints correctly, is a learned skill — not something most first-timers get right on the first try |
Comfort working near your main water line |
A mistake here doesn't just affect the softener — it can affect water supply to your entire home |
Time and patience |
Rushing threaded connections is the most common reason for post-installation leaks |
If you already have plumbing experience — you've handled similar pipe work before, whether from renovation projects or general household maintenance — DIY installation is genuinely achievable. If this would be your first real plumbing job, the learning curve carries real risk to your home's water line, not just the softener itself.
Factor |
DIY Installation |
Professional Installation |
Upfront cost |
Lower — you save on labour charges |
Higher — includes installer's time and expertise |
Time required |
Several hours for a first attempt, including troubleshooting |
Typically 1–2 hours for an experienced installer |
Leak/error risk |
Higher, especially on your first attempt |
Lower — installers have done this repeatedly and know common failure points |
Warranty impact |
Some manufacturers require professional installation to keep the warranty valid — always check first |
Usually keeps your warranty fully intact |
Correct sizing/positioning |
You're responsible for judging the right installation point and bypass setup |
Installer can advise on optimal positioning for your specific plumbing layout |
This is really a trade-off between saving on installation cost versus reducing risk and saving time. Neither choice is "wrong" — it depends on your comfort level, your specific plumbing setup, and how your particular water softener's warranty terms are written. For a full breakdown of what installation typically costs separately from the unit price, see our Water Softener Price in India 2026: Complete Cost Guide.
If you do decide to install it yourself, these are the mistakes that cause the most problems afterward:
A few situations make professional installation the clearly safer choice, regardless of your general plumbing comfort level:
For most first-time buyers in India, professional installation — usually arranged directly through the supplier — remains the more common and lower-risk choice, especially for whole-home systems. If you're maintaining an already-installed system rather than installing a new one, our guide on ongoing upkeep covers what's actually involved day to day: Effortless Water Softener Care: Installation & Maintenance Tips.
Q: Does installing a water softener myself void the warranty? It depends on the manufacturer — some require professional installation or a post-installation inspection to keep the warranty valid, while others don't specify installation method at all. Always check your specific unit's warranty terms before starting.
Q: How long does professional water softener installation usually take? Typically 1–2 hours for an experienced installer, assuming standard plumbing and easy access to the main water line. Unusual layouts or larger whole-house systems can take longer.
Q: What tools do I need for DIY water softener installation? At minimum: a pipe cutter suited to your plumbing material, matching fittings, Teflon tape or thread sealant, and a wrench for tightening connections. The exact tools depend on whether your home uses PVC, CPVC, or metal piping.
Q: Can I install a water softener for just one bathroom without touching my main water line? Yes — a compact, point-of-use water softener can be plumbed into a single bathroom's supply line rather than the home's main inlet, which is a simpler, more contained installation than a whole-house system.
Q: Is it cheaper to install a water softener myself? Yes, you save on installation labour charges. Whether that saving is worth the added time, risk of leaks, and potential warranty complications depends on your plumbing experience and how comfortable you are working on your home's main water line.
This guide reflects standard installation practices for residential ion-exchange water softeners in India, based on practical field experience installing and servicing these systems across different plumbing layouts. Exact steps can vary slightly by pipe material and home layout — if in doubt about any step, a quick call to your supplier's installation team before you start is the safest way to confirm compatibility with your specific plumbing.
Written and reviewed by the Pearl Water Technologies content team, based on our experience manufacturing, installing, and servicing water softeners, FRP vessels, and water treatment spares across India.
Leave A Comment